Neglected cellos:
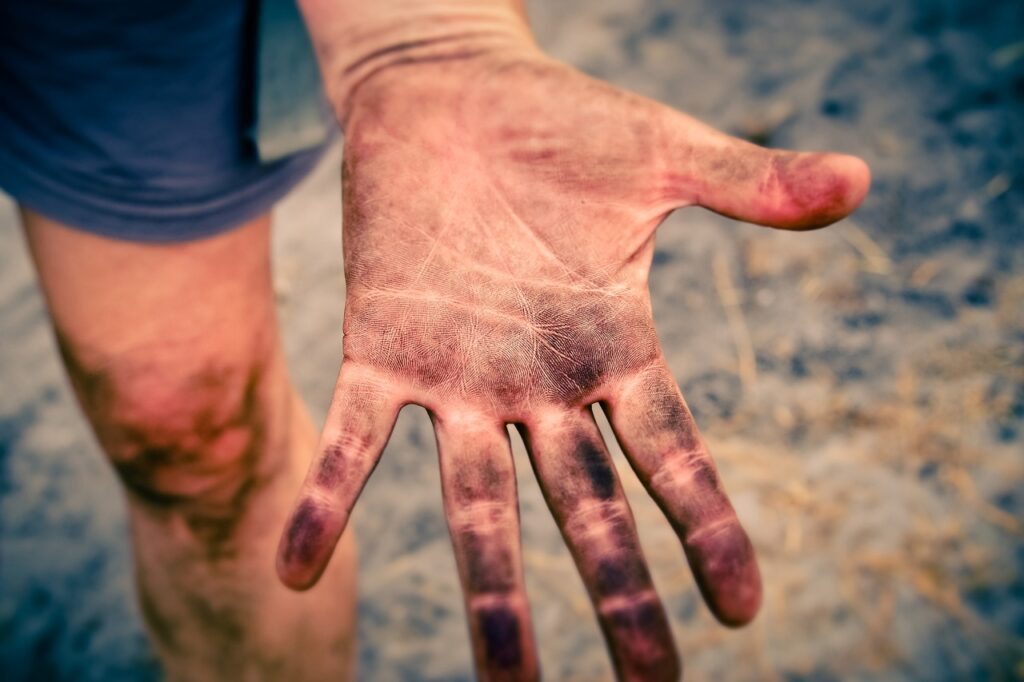
A couple years ago, I spent some time working with one of the central Texas high school orchestra programs. I was there to teach the students some regional music for an upcoming audition. At this particular school, there were a lot of cello students, and the cellos which were part of the inventory for daily classroom use were… to be polite… rather disgusting. These cellos were extremely overworked and vastly neglected.
I’m talking about years of built-up gunk and grime (I’m sure you get the picture). They were played multiple times a day for months or perhaps years by a cadre of messy-fingered high school students and very little attention had been paid to the cleanliness of the cellos.
You might be thinking, “How would the lack of good hygiene damage a cello”, right? When we are taking about the care of an instrument, hygiene is an issue.
Below I will detail some of the cello wrongdoings I saw, then I’ll let you know what you can do to be certain your cello stays clean and free from similar damage.
Rosin build-up on the cello strings and belly.
Rosin is made from a tree sap. When we use rosin, it is deposited on to the bow hair in the form of a fine, powdery dust. When we play the cello, that powder naturally escapes the hair and lands on the belly of the cello.
If the rosin is not removed from the belly of the instrument after playing, it could potentially harden on the varnish if the cello is exposed to sunlight or heat.
The above-mentioned high school cellos had a sticky, white film over the strings and on the belly of the instruments. They needed a deep cleaning. This could have been avoided with a regimen of daily cleaning.
Follow these steps to deep-clean and polish a neglected cello:
1) Get your supplies ready:
- A clean, soft cloth
- A hand towel
- Rubbing alcohol
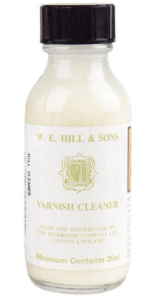
- Varnish cleaner (Hill & Sons)
2) Start by forming a habit of daily cleaning.
Use a clean, soft cloth to wipe the belly of the cello immediately after you have finished your practice session (or performance). Do this every time you are finished. It’s that simple. Don’t ever give that rosin a chance to get comfortable.
3) Understand what is happening to the cello strings when neglected.
Think of the strings a bit like vocal cords. They vibrate as they make a sound. When you have mucus on your vocal cords, the vibrations slow down and the pitch of the voice changes. Same is true of the strings. Once the strings are weighed down with too much rosin, they can’t vibrate properly and the tone of the strings can certainly be compromised.
4) Method for cello string & fingerboard deep-cleaning:
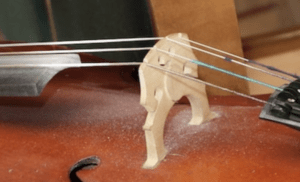
- Place an old hand towel under the fingerboard (on the belly) to protect the varnish.
- Next, use a small dab of rubbing alcohol on a soft rag to wipe away the build-up of rosin. Be VERY careful to only use a small amount of rubbing alcohol so you don’t spill any excess on the cello varnish.
- Firmly wipe the strings (with the alcohol infused cloth) all the way from the bridge to the nut (by the scroll).
- Continue wiping until your cloth is free of grime.
You might be surprised when you observe the amount of dirt you remove from the strings at the location where your fingers make contact with the strings & fingerboard!
You might also notice the motion of shifting becoming a little easier after the strings have been cleaned. That’s a really nice bonus of having clean strings.
5) The exception – a painted cello fingerboard (not true ebony):
The exception to the fingerboard cleaning system is if you happen to have a fingerboard which is NOT made of ebony.
If it made from a less expensive wood which has been painted black to look like ebony, you’ll need to treat it differently. If it is painted, the rubbing alcohol will remove the black paint, exposing the raw wood of the fingerboard.
An ebony fingerboard is black through-and-through and it will be easy to clean without causing any damage. That’s when you follow the steps above. If your fingerboard is indeed painted, follow these steps instead:
- Wet a washcloth with warm water and give it a good wringing so it doesn’t drip on the varnish.
- Add the tiniest drop of hand soap and continue squeezing the washcloth to activate the soap.
- Gently wipe the fingerboard and strings until you have removed all the dirt.
- Use a second washcloth with fresh water (no soap) to wipe the remnants of the soap off the fingerboard.
- Repeat the process with the frog section of the bow because it needs a good cleaning, too!
6) Polish the cello
I LOVE to give my cello a good polishing a couple times a year! It’s easy and very rewarding. I use Hill and Sons Varnish Cleaner. You can find it at many music stores, but Shar usually has this in stock (Hill & Sons Cleaner.)
- After deep-cleaning, give your cello another dry-wiping with a clean rag. Get all the dust, rosin and debris off the instrument.
- Next, locate another clean cotton or microfiber cloth.
- Fold the cloth in fourths.
- Place several drops of the cleaner on the cloth (this stuff is quite strong smelling so apply the product where there is good ventilation).
- Rub the polish on a small section of the instrument (perhaps a 4” x 4” area). Polish the wood in a circular motion for about 10 or 15 seconds.
- Using the back side of that cloth, buff the area with a moderate amount of pressure. Keep buffing until you notice the wood has a very slight gloss to it.
- Repeat this process throughout the front, back and sides of the instrument.
- Avoid using the polish on the fingerboard. It will make it too slick.
It usually takes me about 30 minutes to do the whole instrument correctly.
Once I have finished with the cello I like to repeat this process with the bow stick. Tighten the hair on your bow so you can wipe it easily. Be extra careful not to get any polish on the hair.
Some words of caution:
I have heard less experienced string players suggest the use of “Pledge” or a similar wood furniture polish as a potential substitute for Hill and Sons polish. I would advise against doing this.
Our instrument (of course) needs to be treated entirely different from furniture. The varnish on the cello is usually crafted by a luthier and a drugstore polish could have ingredients which might harm the varnish, rather than help it. So stick to the Hill & Sons polish or another brand recommended by your teacher or a luthier.
In conclusion:
Really try to get yourself into the habit of wiping the cello after each use, cleaning the fingerboard regularly and applying a high quality polish to the wood a couple times a year. It will keep the body of the cello looking cleaner for a longer period of time. It will also preserve your strings, allow more ease when shifting and keep your cello from looking highly neglected.
Treat the cello well and it will treat you well!