Does it seem like you are practicing the amount of time you should, yet you aren’t making the amount of progress you want?
As a beginning adult cello player, you’re probably whizzing along on your first scales and solos, but since you are still relatively new at all this, perhaps you haven’t found any guidance on HOW to set up an ideal practice routine. If this is your first experience learning an instrument (or your first time WANTING to learn an instrument) you’ll need a method – or more specifically – an effective practice strategy to get you going.
There are many legitimate practice methods, but learning how to set a plan which works uniquely for YOU and produces the results YOU want requires time and plenty of effort.
You’ve probably heard about the 10,000 hour rule (which has since been hotly disputed) and although you know it will take some time to get “there”, it’s really more about HOW to get there and the importance of tracking and planning in addition to implementing.
The goal for the practice guide below is to get you started on the right practice path. Eventually you will be able to make gradual, definable improvements by incorporating good practice techniques into your practice sessions.
And although some of this might seem tedious at first, it will pay off in the long run.
Now, let’s dig in.
Step 1; Find the right cello practice space.
Finding the right physical space will help you get into a happy practice “mind-place”, and in turn, the good mind-place will motivate you into the routine of productive practice habits. 
- You’ll need a cello area big enough so that when you sit and extend both arms straight out to your sides (at a 90 degree angle to your torso) you won’t touch anything. In fact, ideally you’ll still have at least another foot of open space beyond your fingers. That space should encompass the full 360 degrees all around your body. The space should feel open without any chance of bowing into a random object. When you have space around you, you will play with more freedom.
- Your cello practice space should have good lighting. I’m not a big fan of bright overhead lighting, but you might love it. You do what feels right for you. I feel more relaxed when I use lamps along with a reading light. If you are keen to this idea, place a nice, bright floor lamp in your practice space along with a good, rechargeable clip light on your stand.
- Consider purchasing a cello stand so your cello remains unpacked and easily accessible, yet out of the way of pets, kids or grandkids.
- Avoid the TV and the smart phone. The whole phone thing is tricky, because the phone holds so many useful resources but it also holds a lot of junk which can easily distract us. Turn notifications off and keep it out of reach unless you are using the tuning/metronome app.
Step 2; Cello Practice Notebook
Find/purchase a 1 inch, 3-ring notebook and a pack of dividers (with the tabs).
A notebook is a must for keeping track of what you need to do, what you need to practice, highlights from your lessons, your successes and even your failures.
 It’s a way of journaling your progress. It will help you aim to the future and it will be a good barometer of how well you are learning when you take a look back. You’ll also keep your specific weekly practice log & your sheet-music in the binder.
Preparing your binder for cello practice:
- Label your first tab “journal” and place about 20-30 sheets of lined writing paper in that section. This is where you will house all your journaling.
- Label the second tab “weekly plan” and make about 20 copies of THIS document. After it’s printed, using a hole punch make three holes on the left side so they will line up with the rings of your 3-ring binder.
- Label your third tab “solos”
- Label the fourth tab “ensembles”.
Step 3; Define your cello goals; Long term, mid term and short term.
This is where you begin journaling.
I’m going to get you started on the first entry, but this section of your binder is your resource to use whenever you feel you need it. (Note: Always write the date at the beginning of each journal entry because it’s nice look back and see how far your thoughts/progress have advanced).
 The first post will be “big-picture” stuff, but your future journal posts will be chronicled to help you keep track of the little nuggets of information you want to remember along with some of your successes and your failures (Yes, failures. You’ll have them and you’ll learn from them). There is nothing too little or too big to write about.
Journaling provides you an opportunity for positive self-talk and allows you to identify your negative thoughts. It’s a tool to help you stay grounded and moving forward on your journey to learn the cello – and it really works.
On the first page of section 1 in your binder, journal about the following:
Long term:
Take a few minutes to jot down a realistic dream of what you hope to accomplish as an endpoint. By endpoint I mean that “thing” you really want to do with the cello. The thing that if you can accomplish “that”, you will feel like you did what you came to do. (Hint: this should be something that will happen a few or more years down the road. It’s also known as your “why.”). This is your long term goal.
Mid term:
What do you hope to accomplish with the cello a year from now? This might be a specific piece, or playing in a specific ensemble, etc…
Short term:
What do you hope to accomplish this week (This is the one we will dive into most thoroughly below. It will encompass your short term, weekly practice goals).
Now moving on to the guts of all this; How to practice effectively.
Step 4; Outlining a weekly cello practice plan.
Let’s talk about making a weekly plan which you’ll clearly define at the start of each new week (whether that be a Sunday or Monday – your call).
The second section of your binder should contain the printed copies of the weekly practice plan (If you missed it above, you can print it here).
 You’ll notice on the worksheet there are five days for the week in which you can add practice information. I don’t have 7 days on on the form because I want to help you avoid burn-out. You don’t need to practice 7 days a week to make great progress! It’s never about the amount of time, but rather the QUALITY of time you spend practicing.
We call this mindful practice. Until recently, many music instructors focused on the AMOUNT of time a student practiced rather than the ESSENCE OF a practice session. We know now that our previous system of time-regulated practice did not produce the best results. If you get 5 days of mindful practice in each week you will make noticeable steady & regular improvement.
Pre-plan your practice days.
That’s the best way to stay accountable to yourself. Look at your calendar and then fill the days you are certain you can get some practice in.
You’ll notice that each day has a place to notate your start and stop time. This is not there for you to meet a minimum number of hours practiced each week. It’s there for you to keep a private record of the time you spent practicing. It’s open-ended. Just be honest and mark the end time – whether that means the session was only 10 minutes or an hour and a half. This is good information for YOU.
You’ll also notice that each day has a section for a warm-up and a section for goals. Let’s dive a little deeper into this:
 Warm up for musicians:
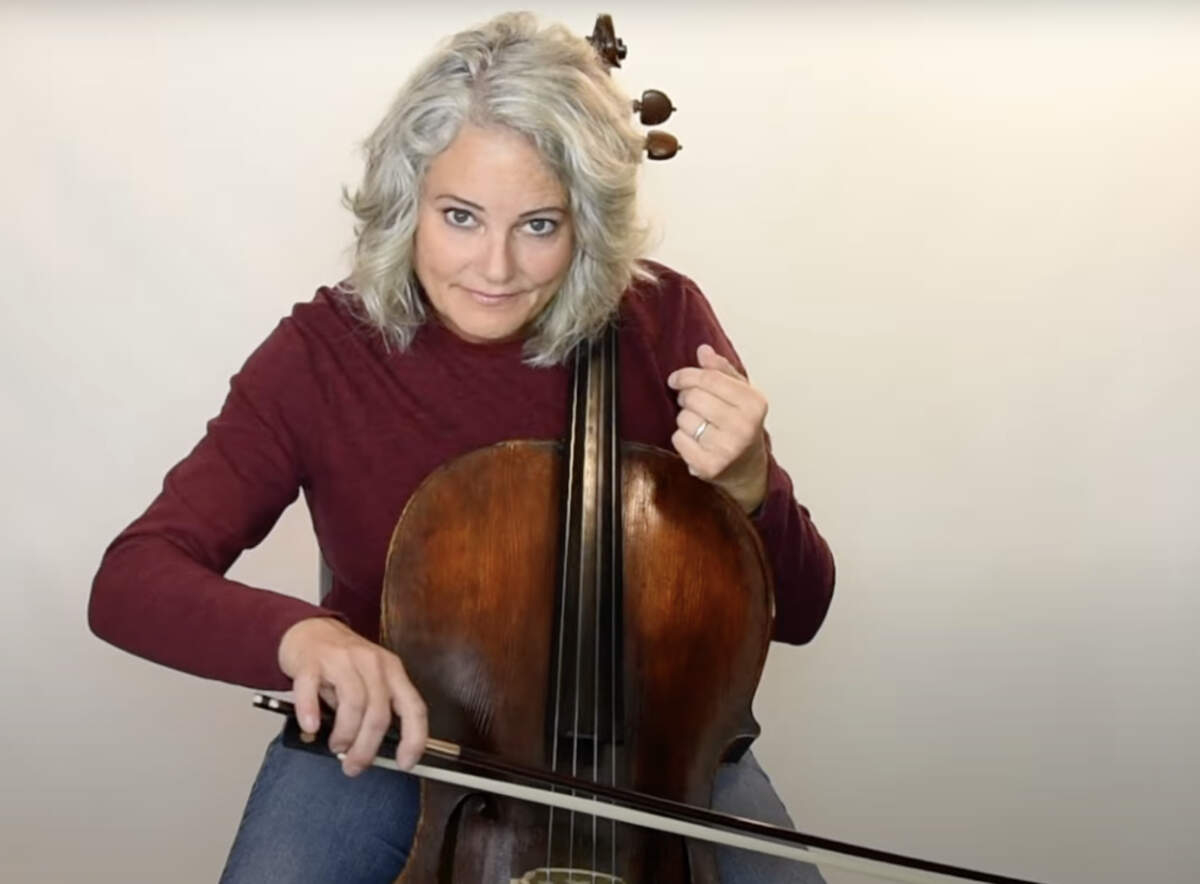
Just like athletes, musicians need to warm up as well. I always do a pre warm-up before my actual playing warm up. I stretch my fingers and wrists. I massage my forearms and the base of my thumbs. I also rotate my neck and my shoulders. This helps me relax my body in preparation for true practice. You can watch me do some of the warm-ups here:
Your warm-up should be comprised of some daily drills which set you on the right path for a great practice session. You are firing up your muscles and you are firing up your brain. You are getting into the practice zone. Your warm up should include both right hand and bow hand/arm exercises.
So, perhaps you will focus on long tones with the bow hand to get the clearest, cleanest tone you can achieve. Your left hand might do some percussive finger drills from the open string to each finger to get good finger action going. Whatever you do, do it for you. It doesn’t matter what anyone else does for warm up drills. Your warm-up isolations should focus on anything which prepares you for the bulk of you practice.
Scales:
If you don’t know about scales yet, you will. But you will also find a lot of people play scales as part of their warm-up. I consider scales part of true practice – not a warm-up. That’s where you will do some great technical work… with scales. However, if you are at a place where you ARE playing scales and you want to include that as part of YOUR warm up you should do so. Again, this is YOUR plan.
Goals:
The next section requires you to write out your “Goals for Session”. What are the areas of your playing which you are finding difficult at the moment? Think about what you hope to accomplish at the end of the week and write the goals for each practice session so that the daily steps will get you there.
I think it’s wise to have a daily left and right hand goal. Since the two work together as a team, they both need to do some wood-shedding on their own so they are great together.
Let’s say that you want to improve your intonation on a specific piece and you also want to improve your right hand articulation. Now you have a goal for each hand. In this case I would write: “Goal – left hand intonation right hand clear articulation.” To turn your practice goal into reality, you might practice slowly with a drone so that you can really hear your intonation (more on drone practice in another blog). Aim to to be critical of your tuning. And to get better with right hand articulation consider isolating the slurs or staccato bowings without the left hand so you can really focus on just your right hand.
Your daily goals should get you to your weekly cello goal. Be sure to include a scale and a section of the music you are currently working on.
This whole process is time consuming, for sure, but if the goal is to learn to play the cello and to play it WELL, you have to have a system for practicing. And I’ll leave you with some of my most ardent facts about practicing which I’d love for you to think about:
👉🏼👉🏼If you want the true nitty-gritty on EXACTLY how to practice a section of your music, this blog will really help guide you.
Beginning Cello: 7 Important Tips to Help You Succeed

- If you practice the same mistakes over and over again, you just get REALLY good at the mistakes.
- There is absolutely no substitute for a metronome. Just do it. Seriously.
- Play everything slower than you WANT to play it. This is practice time, not performance time 🙂
- Isolate difficult parts of the music vs. playing the easy stuff (as in the stuff you can already play). THAT’S what you need to practice.
- Be mindful of EVERY note you play. Really LISTEN to yourself. This gets easier with time.
- Never allow yourself to play out of tune (that’s broad I realize, but if you follow the previous fact, you’ll be more aware of your sound – and your intonation – and you WILL get better faster).
Learning to play the cello as an adult requires more patience than it might as young person. You are dealing with grown-up things now. You may also notice some stiffness in your body (including your hands) which you didn’t previously have. Because of those issues, it will take a while to train yourself to do this new cello thing. But – if you follow a great practice plan, continue to stretch and relax – it will happen.
And don’t forget to be kind to yourself!
Happy practicing!

